
Installing Your Own PaaS Service: Coolify
Over time, managing multiple projects across various "platform as a service" (PaaS) providers can turn into quite a challenge. In the beginning, Heroku was the preferred choice for PaaS due to its affordable and straightforward setup. However, Vercel emerged as an excellent alternative, simplifying the deployment of Next.js projects despite lacking support for non-Next.js endeavors. Railway.app also became another viable option because of its wide-ranging software compatibility and reasonable pricing structure.
Nevertheless, migrating all your projects to a new cloud provider isn't always seamless; some may need extra care and effort during transition. The saying "never change a running system" often rings true in these situations.
That's where Coolify comes into play - an open-source, self-hosted solution that rivals Heroku and co. Coolify empowers you to establish databases and deploy PHP-, Node-, or Python-based applications on your local server or any virtual private server (VPS) in the cloud with ease.
What is Coolify?
Coolify is a free, self-hosted alternative to Netlify or Heroku. It offers the same features as Heroku, such as automated deployment, scalability, and easy configuration, but with the added benefit of being self-hosted. This gives users full control over their hosting environment and access to features such as multi-application and multi-domain support, application backup and restore, and more.
Minimum Requirements for Coolify
Before you begin, ensure that your server meets the following minimum requirements:
- 2 CPUs
- 2 GB of memory
- 30+ GB of storage for images
Supported Applications, Databases, and Services
With Coolify, you can deploy a wide range of applications, databases, and services. These include:
- Applications: Static sites, NodeJS, VueJS, NuxtJS, NextJS, React/Preact, Gatsby, Svelte, PHP, Laravel, Rust, Docker, Python, Deno
- Databases: MongoDB, MariaDB, MySQL, PostgreSQL, CouchDB, Redis Services: WordPress, Ghost, Plausible Analytics, NocoDB, VSCode Server, MinIO, VaultWarden, LanguageTool, n8n, Uptime Kuma, MeiliSearch, Umami, Fider, Hasura
Installing Coolify on a VPS
To install Coolify on a VPS server, you can use any VPS provider you want. This guide uses Hetzner as an example. Here are the steps:
- SSH into the VPS server.
- Run the following command to install Coolify:
wget -q https://get.coollabs.io/coolify/install.sh \\ -O install.sh; sudo bash ./install.sh
- Register a new account in the login area with http://ip:3000. You can enter your email and password.
- Point your domain or subdomain to the server IP by adding an A record.
- Go to Settings - Coolify Settings and in URL (FQDN) add your admin domain.
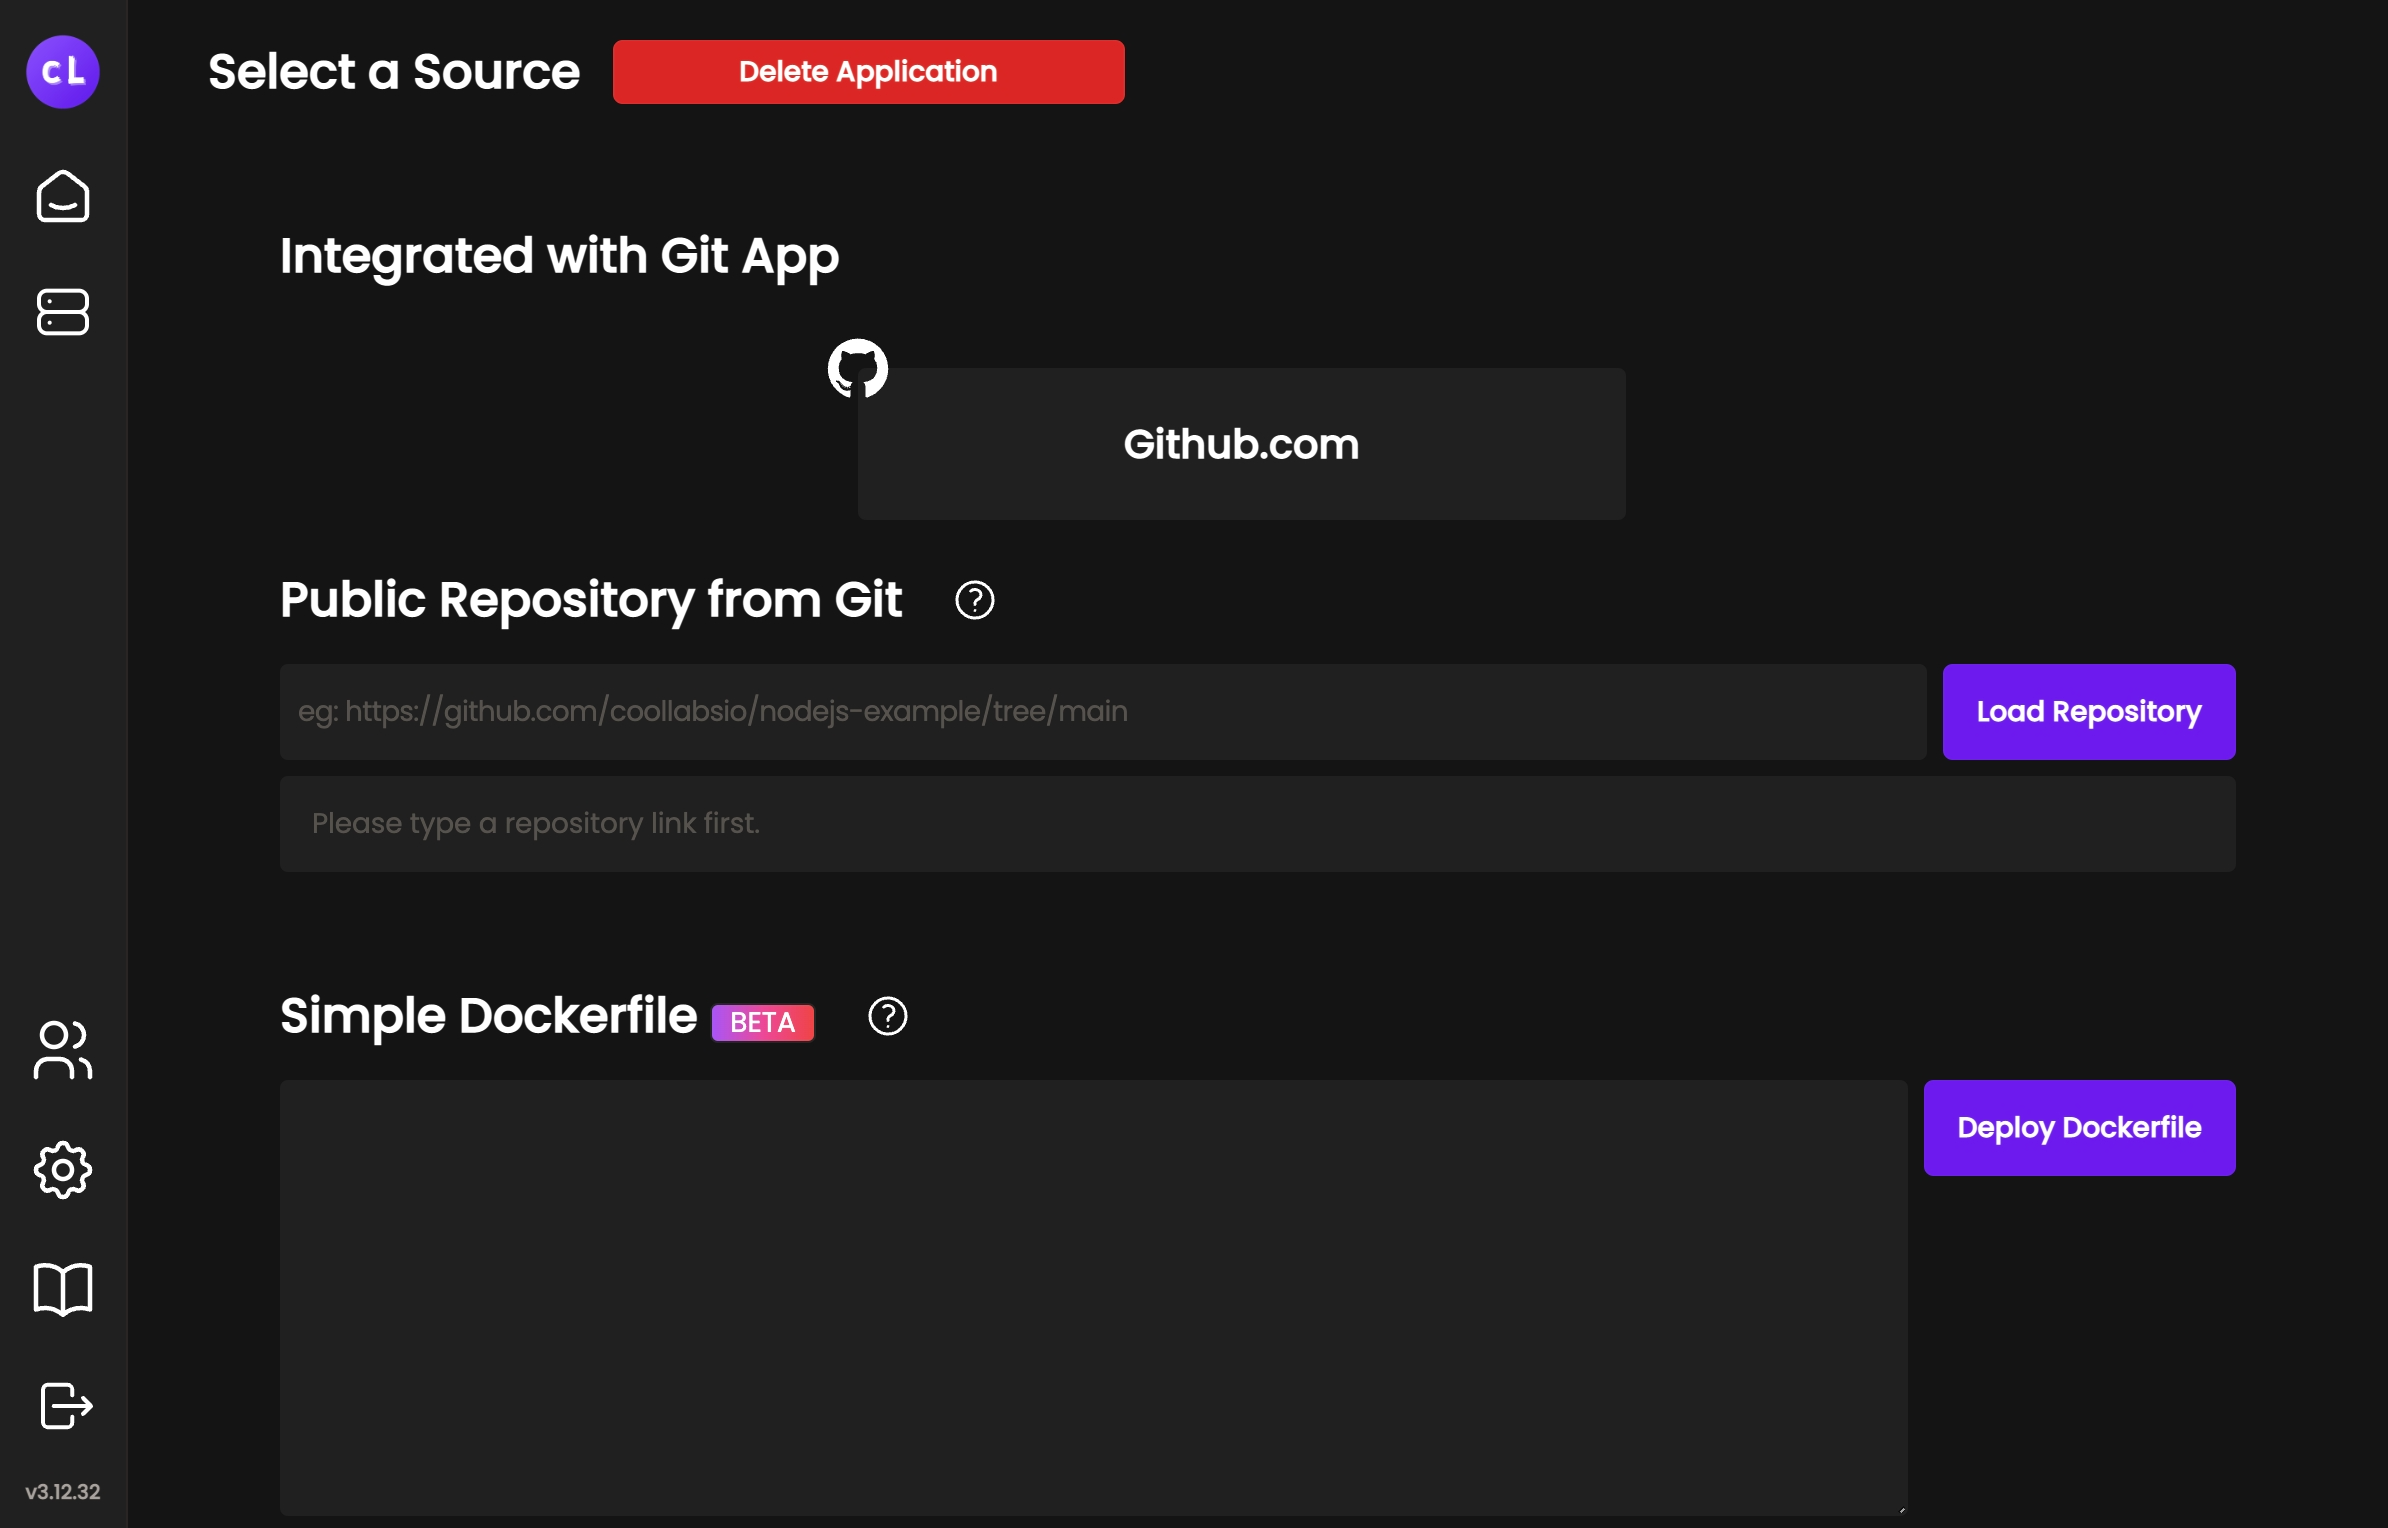
- Link your GitHub-profile to Coolify so you can choose which repo to deploy from. Go to Create New Resource and select the git source, then follow the prompts.
Deploying a Node.js Static Website
To deploy a Node.js static website:
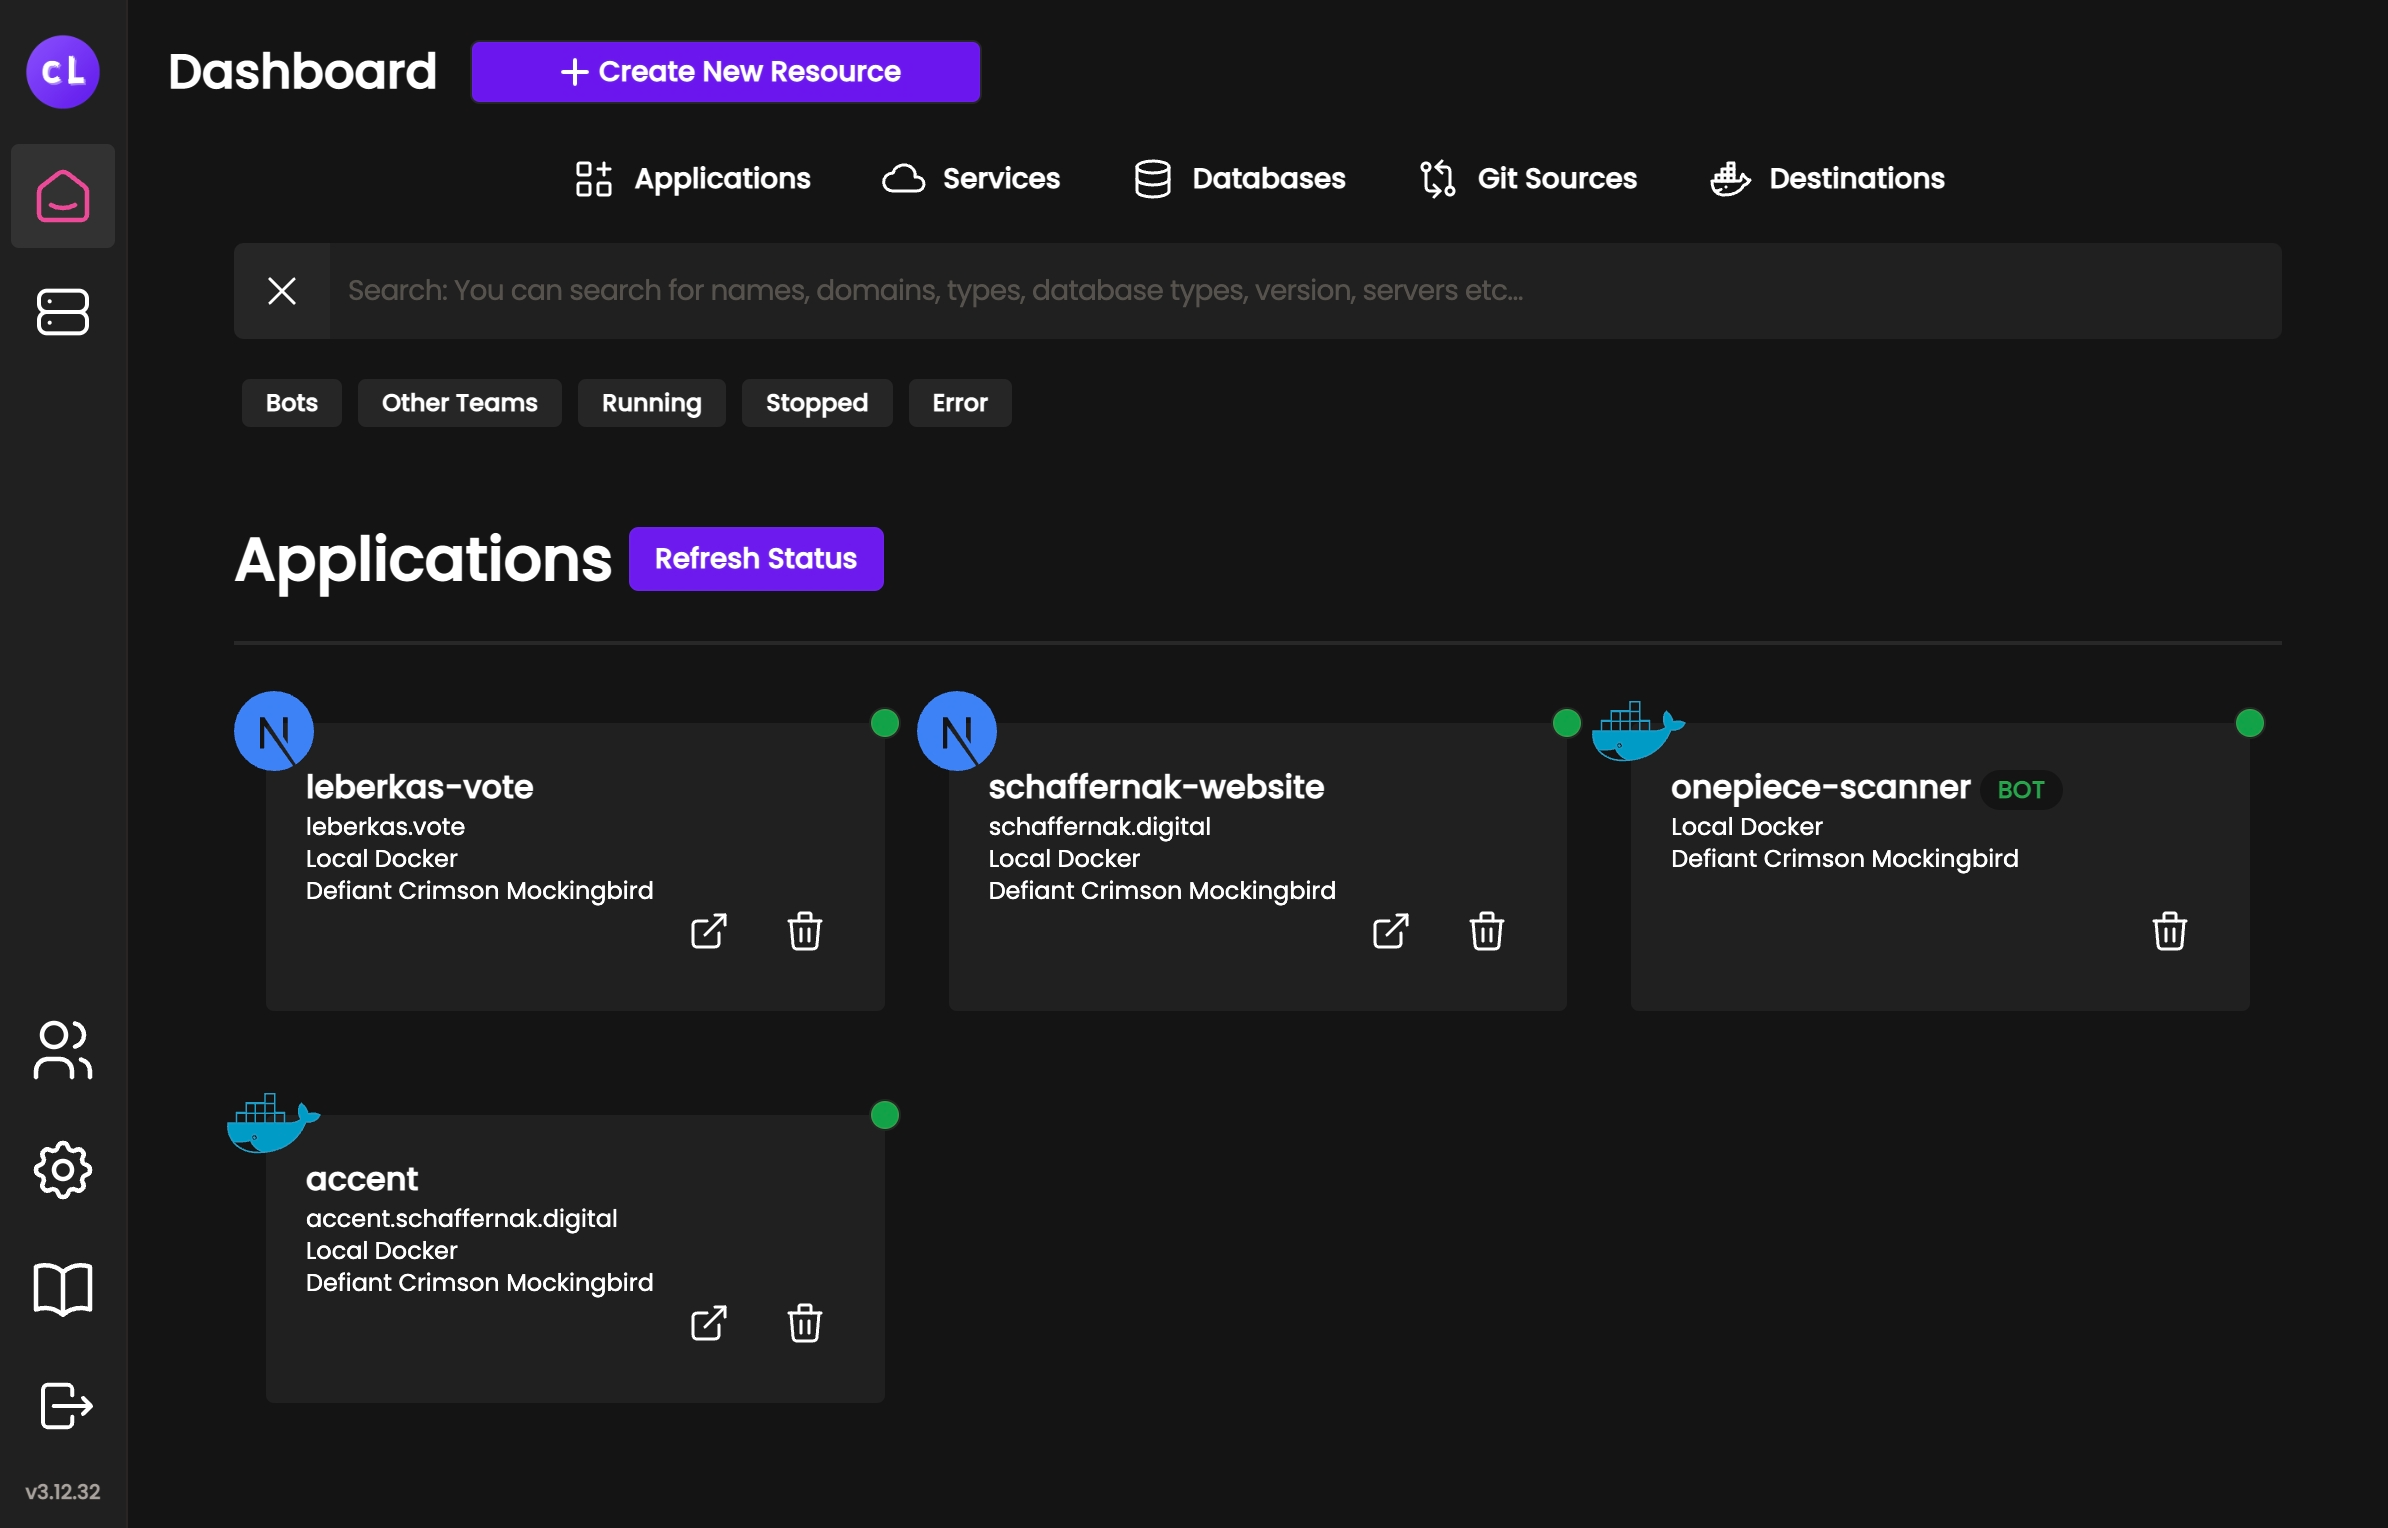
- Go to Create New Resource - Application and select Github.
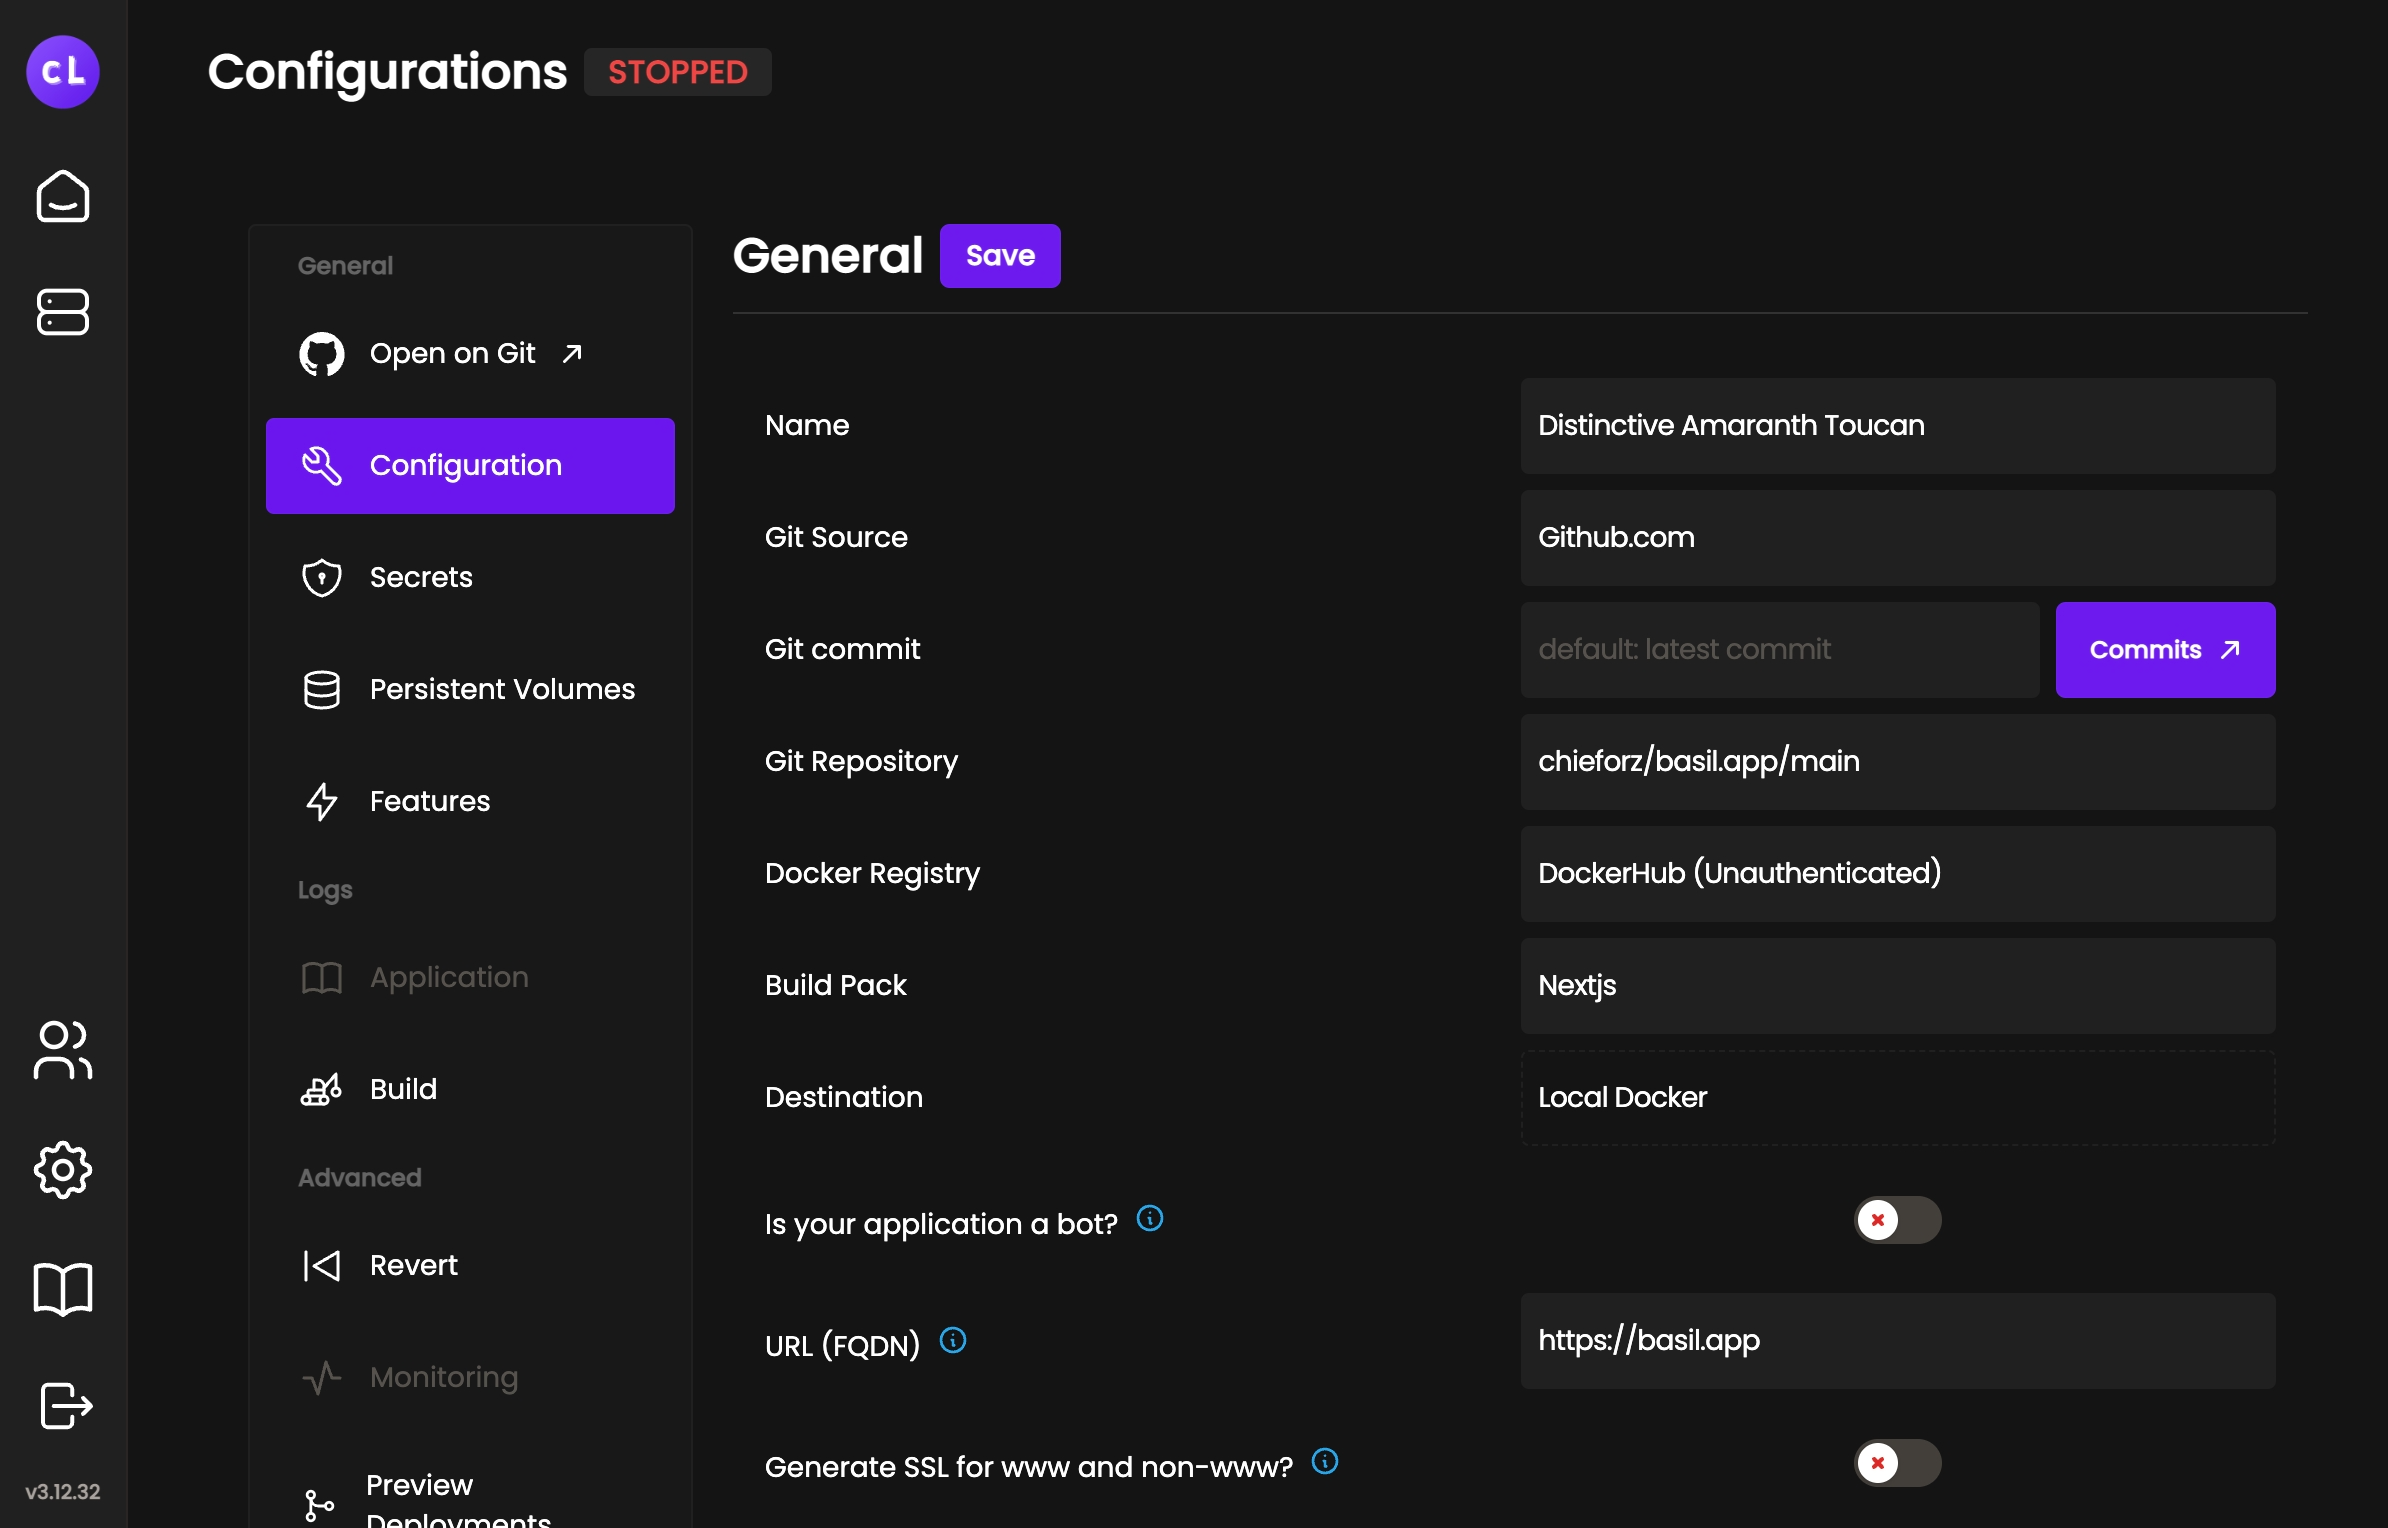
- Select the repo and branch and hit save.
- Point the domain to the server by adding a record for root or subdomain.
- Add the URL to Coolify.
- Hit save, then hit deploy.
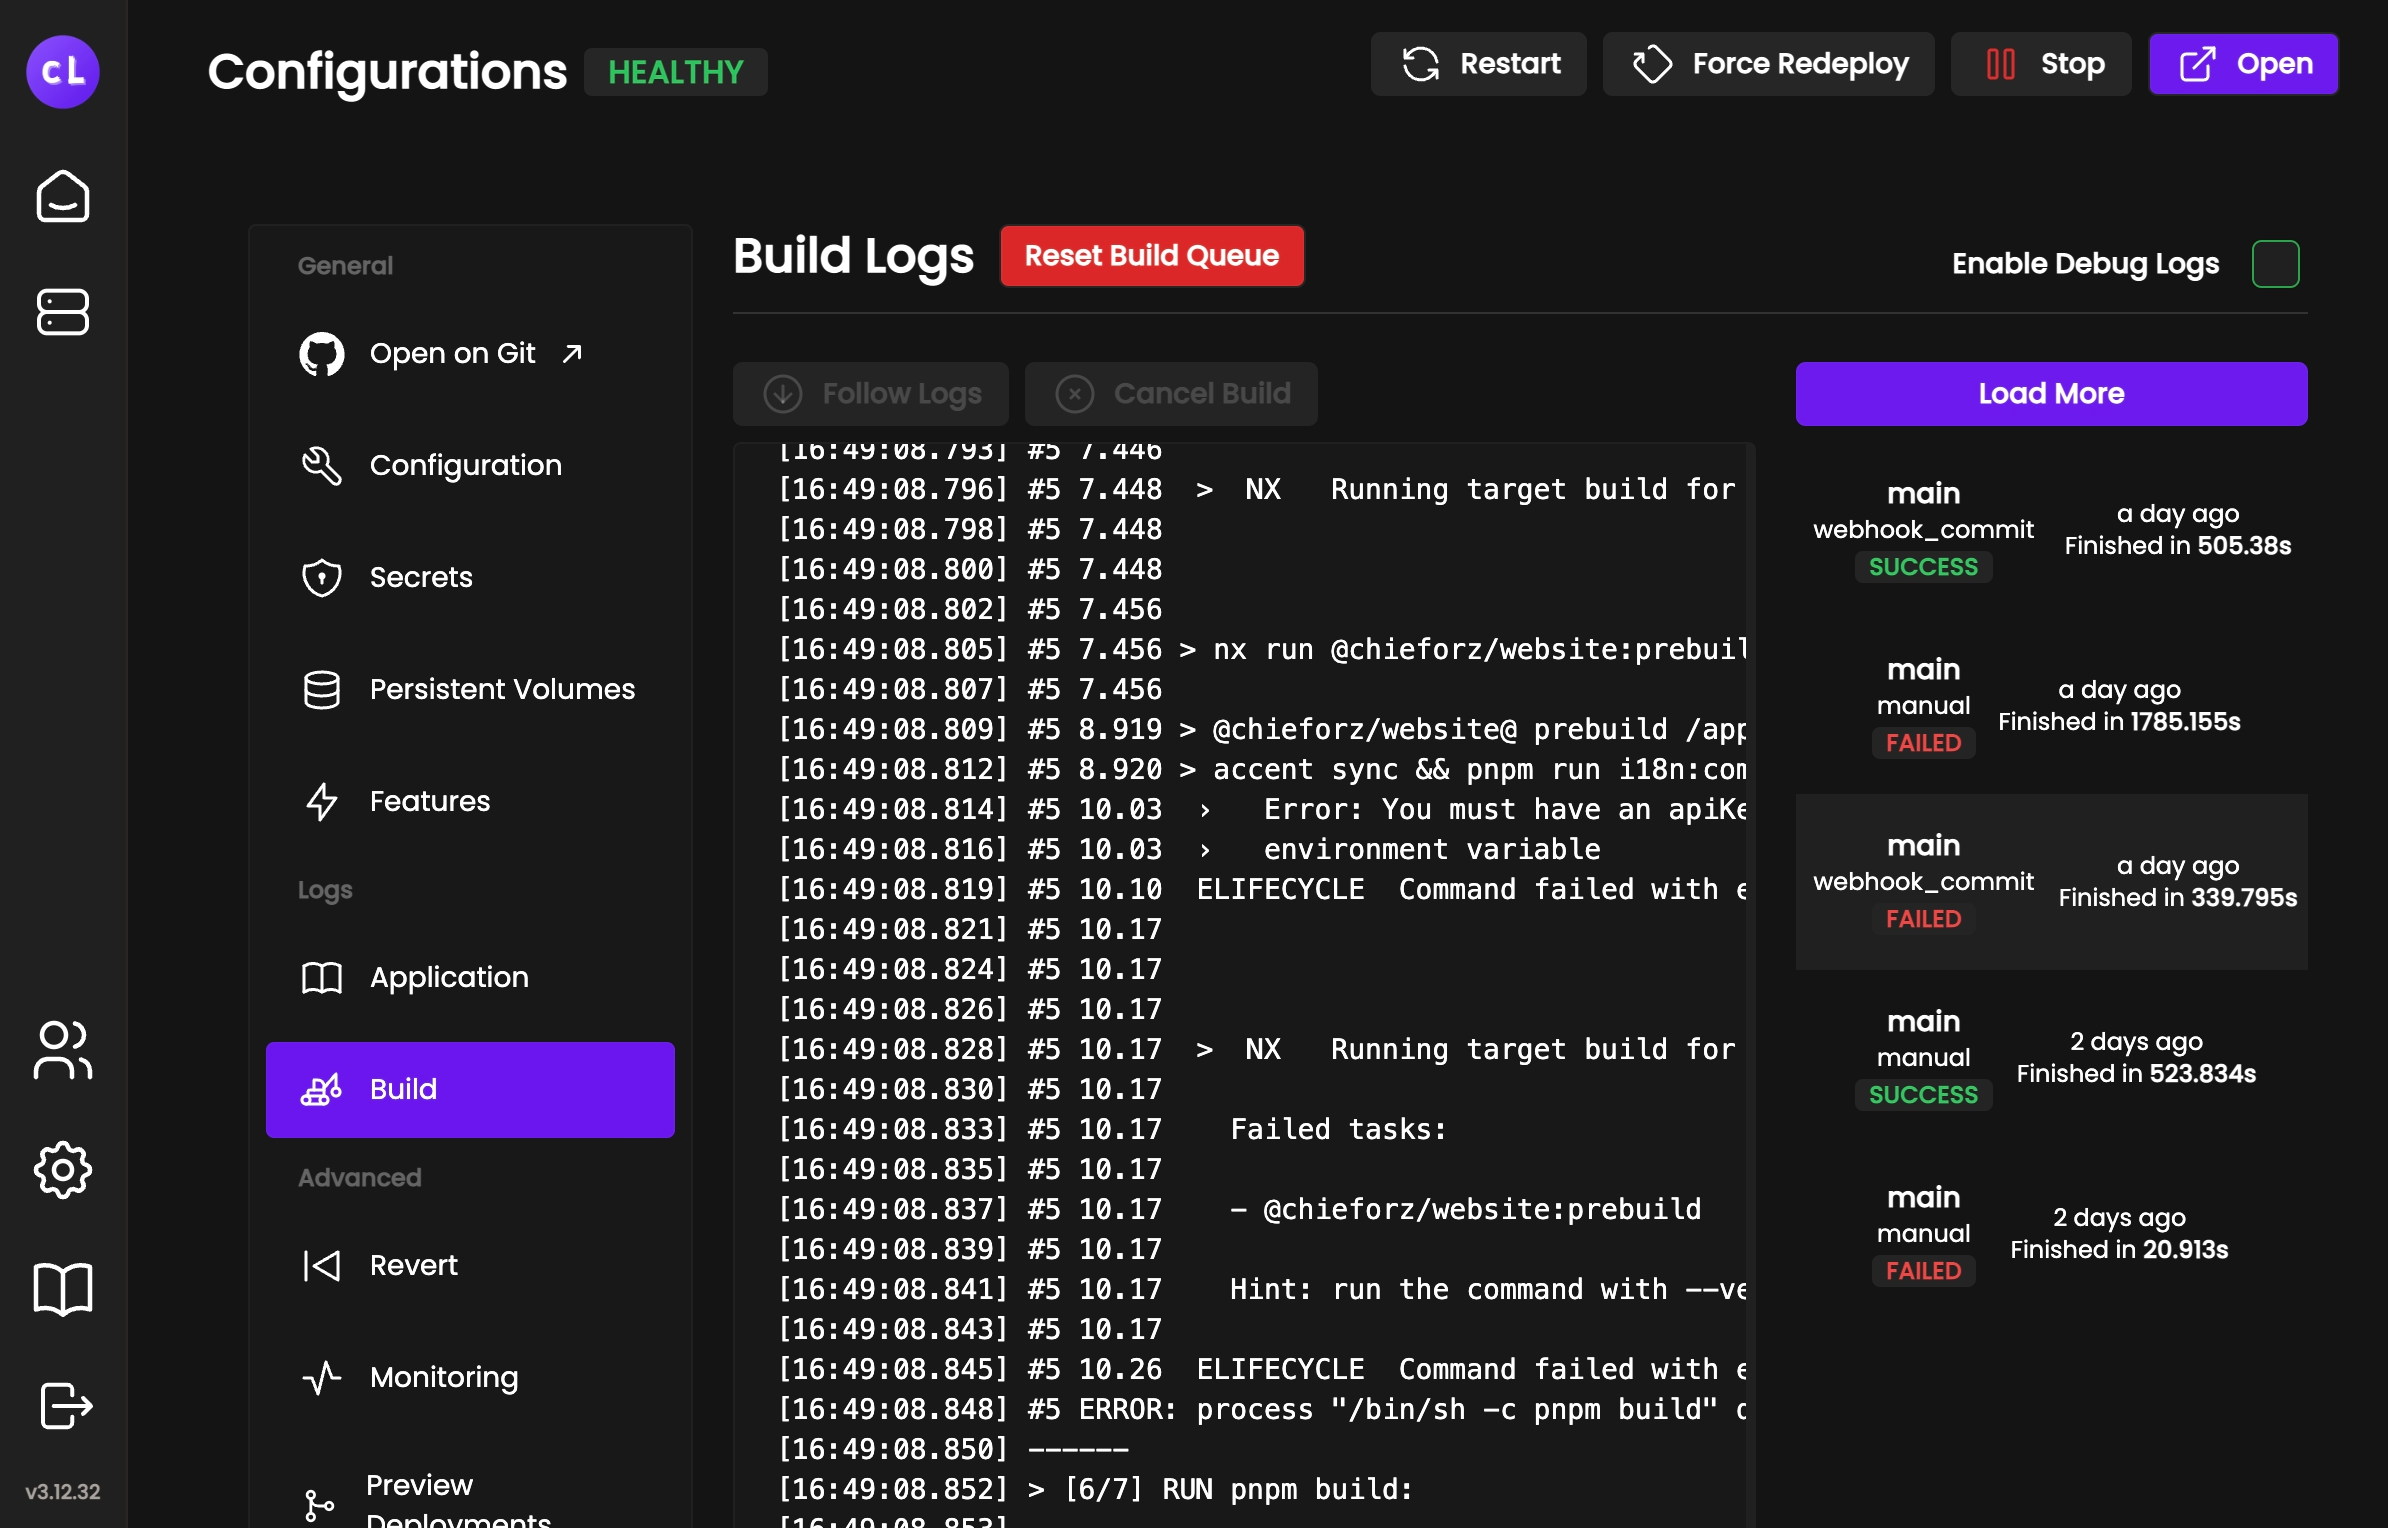
Coolify will automatically fetch the latest version, just like Heroku or Netlify or other cloud deployments out there. This is enabled in Features - Enable Automatic Deployment.
Advantages of Transitioning to Coolify
When I switched my development infrastructure provider to Coolify, I experienced significant cost savings, reducing my expenses by 50% compared to using Heroku, Vercel, and Railway. Additionally, I previously hosted all of my databases for various services on Amazon RDS and connected them through a connection string. This setup meant that the backend would often connect to servers located across different continents. With Coolify, I brought the backend as close as possible to my database. The result? My services are faster than ever before. It's a remarkable improvement that I hadn't fully appreciated until I made the switch.
Potential Disadvantages of Transitioning to Coolify
Despite numerous advantages offered by Coolify's self-hosted solution, there are potential drawbacks worth considering carefully before diving into such a transition. Self-hosting can come with unique challenges like requiring technical expertise or being dependent on your specific use case complexity. Furthermore , it could potentially introduce hidden costs not present when utilizing managed PaaS providers.
Risks also arise with self-hosting, particularly in terms of data security, availability, and scaling. These are critical aspects to consider, as they can significantly impact the operation and success of your applications. Therefore, the decision to switch to a self-hosted solution like Coolify should not be treated lightly. It's important to carefully assess these potential drawbacks and ensure that you have the necessary resources and expertise to manage them effectively.
Conclusion
In conclusion, Coolify is an excellent free alternative to Heroku and co. for those looking for a self-hosted solution. It’s easy to install, configure, and manage with its intuitive user interface. Additionally, the platform supports all of the main programming languages, making it suitable for projects in any field.
With Coolify, you can centralize all your projects onto your own server or any VPS in the cloud, giving you full control over your hosting environment. The cost savings and performance improvements I experienced highlight the potential benefits of switching to Coolify. However, it's important to carefully consider the potential drawbacks and ensure that Coolify meets your specific needs before making the switch. So why not give Coolify a try and see how it can simplify your project management and boost your services' performance?